
Last week, Jialin, a friend of mine who is also a great watercolor artist asked me about how to take a good photo of her painting. So I have her to thank for this week's content. =) You can see her beautiful works at her website.
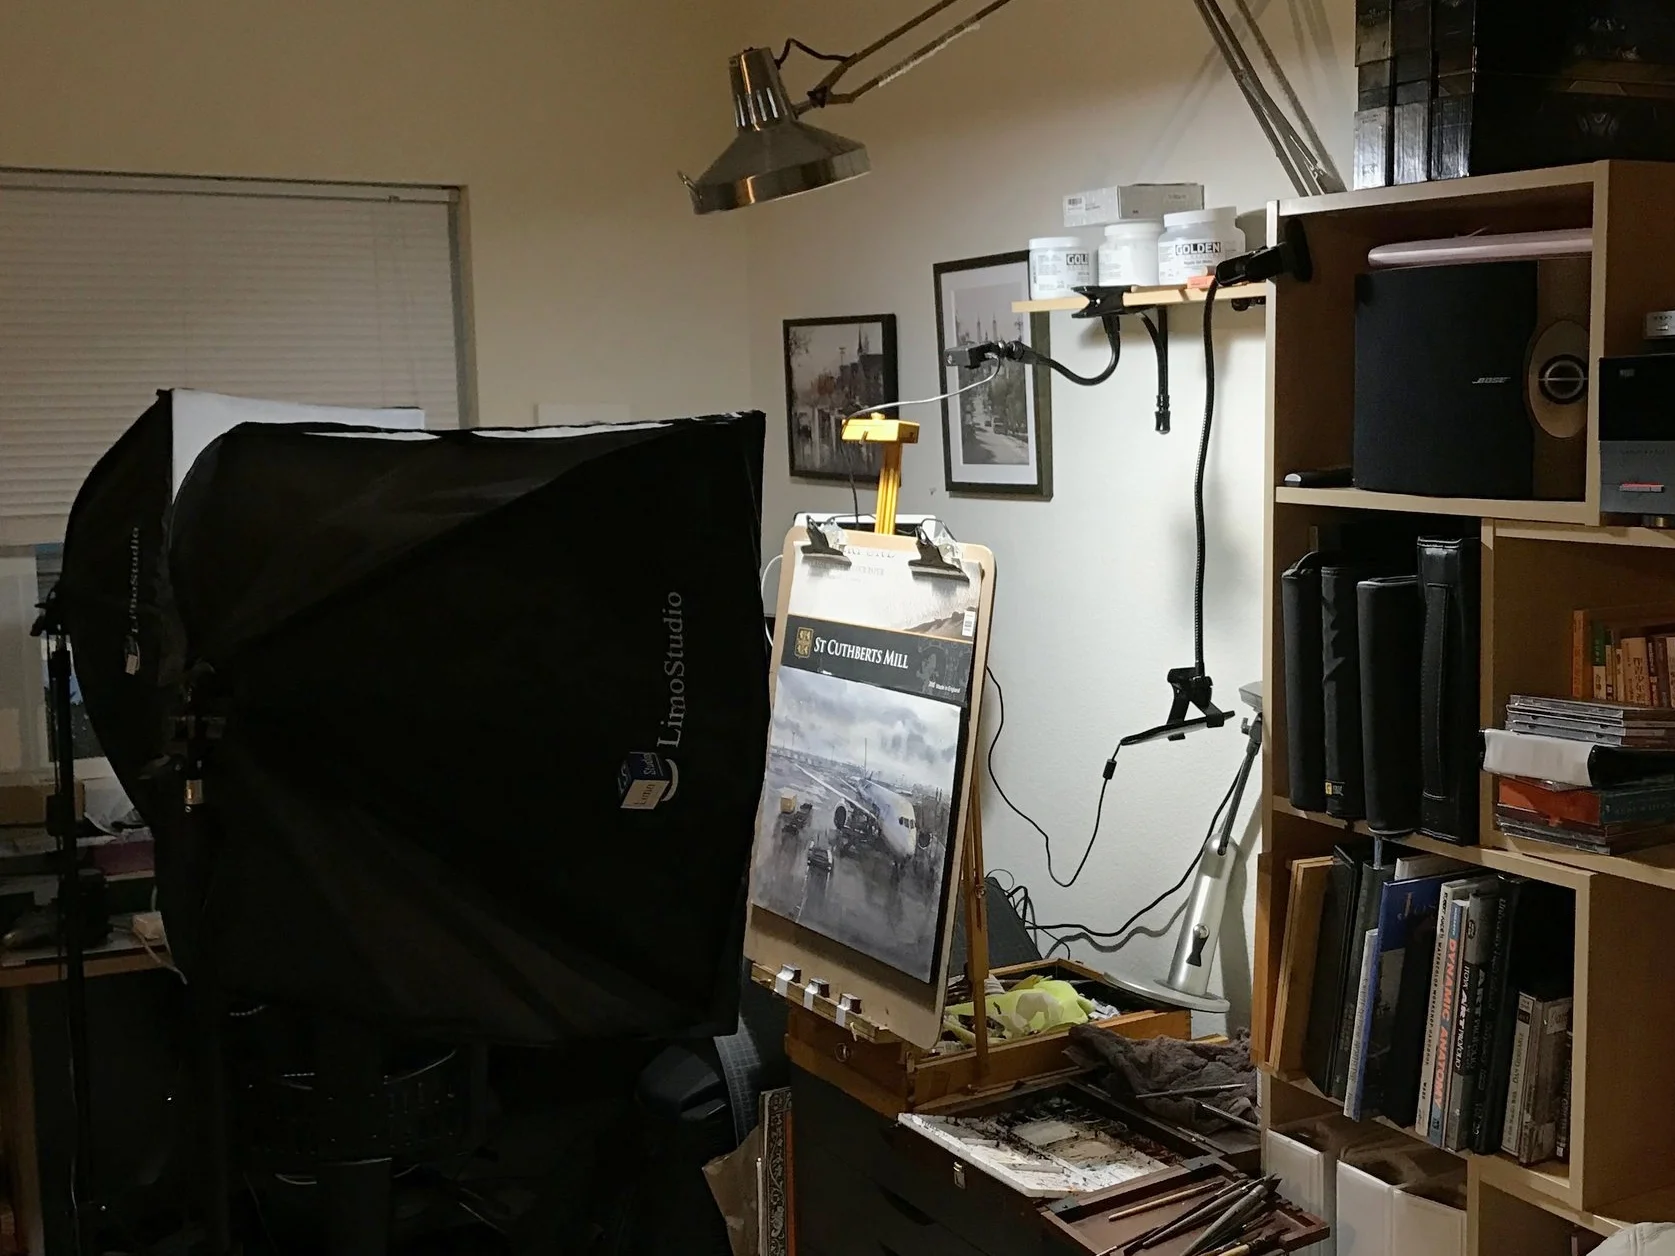
Whether you want to reproduce your painting, making prints, books or cards, or you simply want to keep a good image of your work, a properly taken photograph is imperative. However, I should mention that you don't need an over-the-top expensive set up. I took my photo right where I make my paintings, which is just a corner of a room. All you really need is a good camera on tri-pod, a good set of lighting and set them up properly.
Camera
My current camera is Sony α6000. It is a ASP-C sensor, 24.3-megapixel camera. The resolution of the image this camera capture is adequate for capturing image up to 30"x20" for printing at 200 DPI. I will just leave those information here since this week's post is not about technical detail of a digital camera. If you already own a camera, check the spec to see if it takes high enough resolution for the size of painting you have.

Lighting
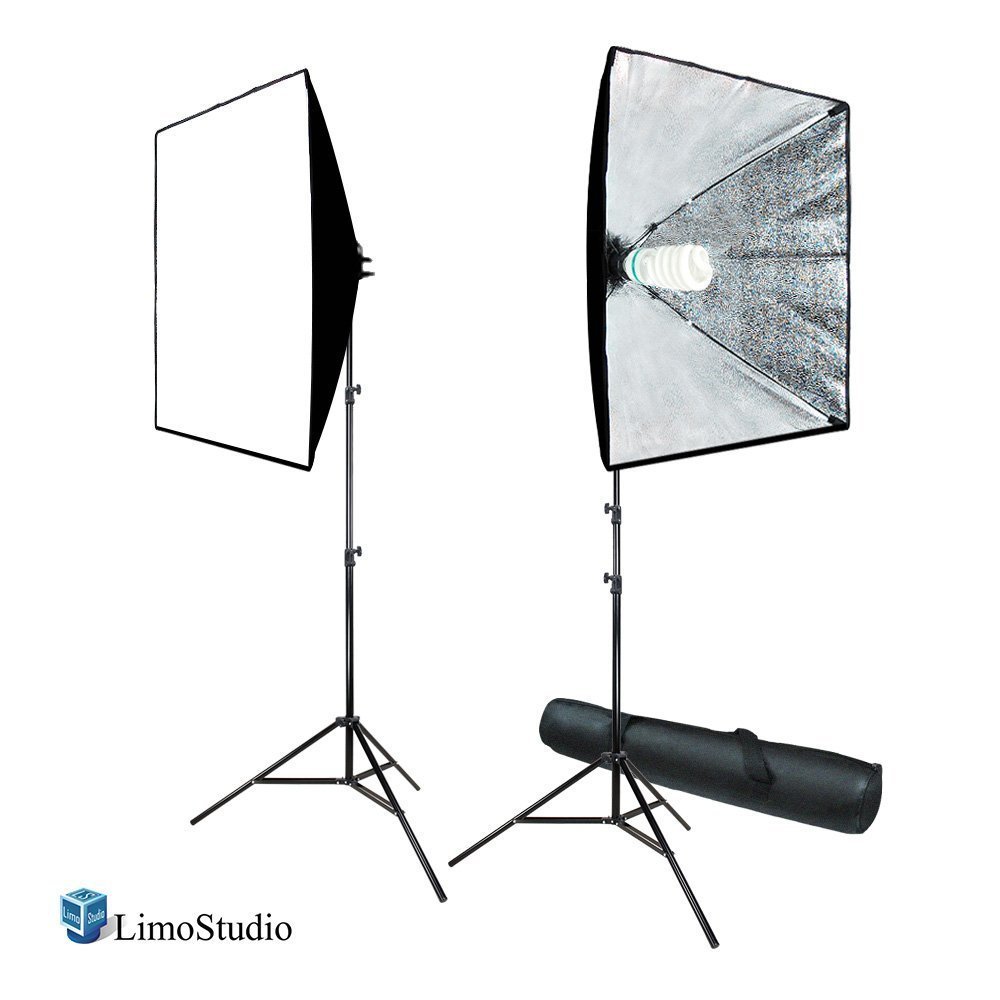
A good lighting is vital for taking a good photo of your painting. The lighting above your easel is not going to be enough! It might be enough for you to paint with, but not for taking a good clean image. A soft box lighting is highly recommended because it gives you a nice diffused lighting without hot spot. You want an even area light on your painting. Without a soft box, the lighting can be harsh. The lighting set I use is this lighting kit I got from Amazon. It comes with 2 light holders with softboxes, 2 light stands, and 2 85w 6500k white light bulbs. This lighting set is very inexpensive consider the light it gives you. Which is why I said it doesn't have to be an expensive set up. A good white light is required to capture your painting in its original color. You don't want to use a regular household tungsten lighting because the color will turn out too warm.
Setup

Setup your equipment is quite simple. Bring your painting as straight up as you can. My easel is adjustable to almost 90 degree straight up. If you are not able to do that, you can tape your painting on the wall. Make sure your painting is flat on a surface. The benefit of painting on a watercolor block is that it is glued on the side to a hard cardboard. So when the painting is completely dry, it remains flat. I don't take the painting down until I take the photo. If you paint on a single sheet, you might want to tape the edges on the wall. Uneven painting can cause unwanted shadow and distortion. If you have a painting that's buckled and uneven, you can try to flatten it by wetting the backside of the paper, lay it down flat and put heavy flat object(such as books) on it and wait until it's dry.
Lighting setup
The lights should be on both side of the painting, keep them at same distance and at the height of the painting. Face the lights about 60° away from the painting. The light should bounce off to the side. Since watercolor is non-reflective and you are using a soft box, it shouldn't be too much of a problem.
The reason we are putting lights on each side instead of one light on the top or side is because we want to eliminate the paper texture and also give it an even light.

Using my painting light- Looks decent, but you can see some texture from the paper, it also gives an uneven lighting from top to bottom.
Lighting on one side - The paper texture is catching light on one side and the other side become dark.
Even lighting on both sides - The paper texture is gone, the image looks nice and clean. The whole picture will also be evenly lit.
Camera setup
Your camera should be on the tripod and the lens should point directly at the painting. Keep your camera at the same level as painting. This is why it's a good idea to have your painting straight up, otherwise you will end up with a tilted image. While you can tweak the image, it is always a good idea to set things up as good as you can. So that you have a great image to start off with!
Before you press the shutter button, there are couple settings to do. Camera should be at the proper setting in order to capture a faithful image of your painting! For those of you who has a DSLR camera, I usually set my camera mode to Aperture Priority. The camera in this mode will figure out the shutter speed automatically while I set up everything else. Today's camera usually are very smart on figuring out the right shutter speed.
Use a zoom lens or a mid range lens
A wide angle lens can cause distortion to your image. I use a 55mm prime lens. At this distance the image is distortion-free.

White Balance - Digital camera sees the color as a whole. Set your white balance to the appropriate color temperature. Since I know my light bulbs are 6500k, I set my white balance accordingly. You can adjust white balance in computer afterwards, but again, you want a good image to start off with!

Aperture - Depend on the lens you use, always set the aperture a few stops down. For example, my lens is F1.8, so I turn it to F5.0. Usually the image is sharper when you stop down a bit.

Self-timer - Even on the tripod. The camera can still move when you press and release the shutter button. A slight movement can result in a blurry image. I set a 2 second self-timer so that after I press the shutter button, I can keep my hands off to avoid moving the camera.
ISO - Keep your ISO as low as you can! High ISO can make your image noisy. Since your painting is lit well, low ISO will not be an issue.

RAW file format - If you can, set your file format to RAW. RAW is uncompressed image, which gives you better image quality and more color range for you to tweak later. It is the best possible image you can get out of your camera!
Use Manual Focus
Even though auto focus is the norm for digital camera, you want to focus manually to get the sharpest image you can get. Auto focus can be easier, but it can always be off by a tiny bit.
Take 3-5 images for each painting
It's always a good idea to take more than 1 photo of the painting. Refocus your lens each time when you take the photo. This will give you a better chance for a perfect shot! My first shot is usually not as perfect as it can be. So taking 3-5 images allows me to pick the best one.
Here's the result

up close detail
It can sound complicated and intimidating at first, but you will get a hang of it after a couple try. It's also worth noting that I do adjust my image afterwards. The photo can be a bit washout because it's lit by two big lights. The dark of the painting will get lit up quite a bit too. So after I take the image to the computer, I will adjust the contrast and color a bit more.